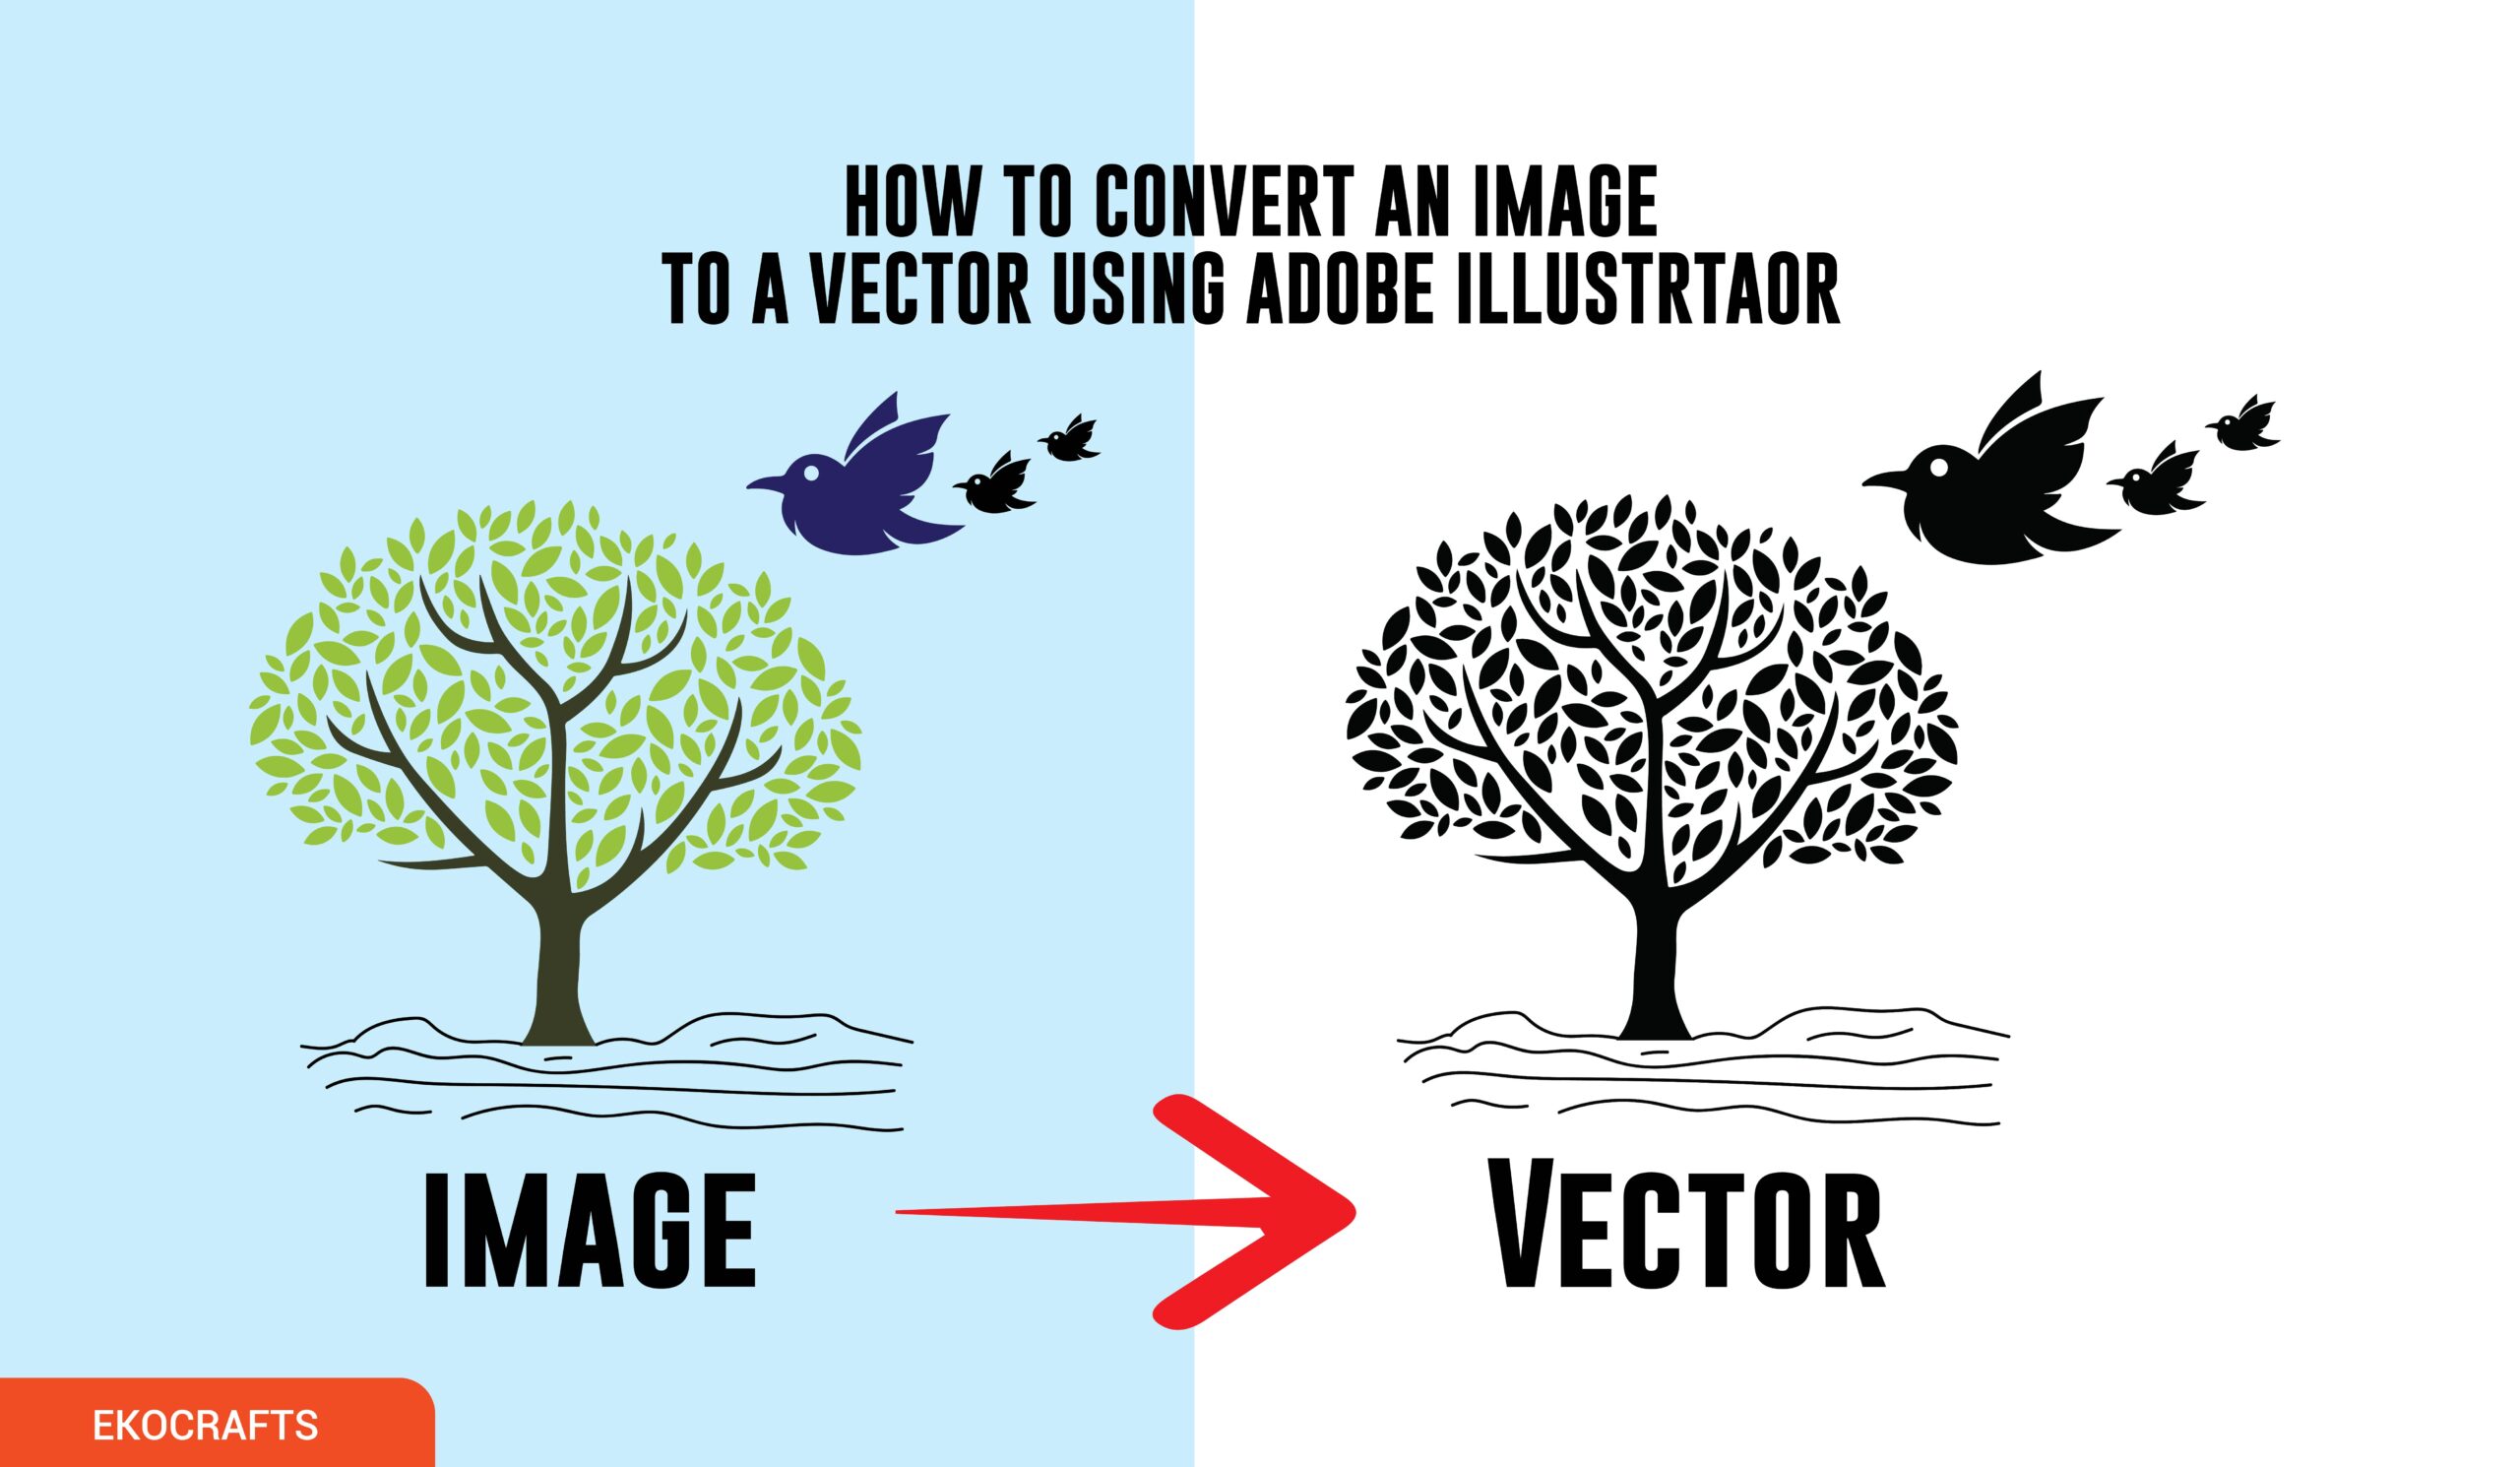
At EKOCrafts, we print a lot of t-shirts that have a vector as the design or part of the design. Some people do wonder how we can convert some images into vectors. We did some research to enrich the knowledge we have gathered so far in our printing journey. It is also important that we understand the two common image types so that this idea helps us to make informed decisions anytime are undertaking any project that requires the use of raster images and vectors.
Before we begin the whole process of how to convert an image to a vector using Adobe Illustrator, let’s look at Adobe Illustrator, the software we are going to use for this task.
Adobe Illustrator is software capable of converting images to vectors. The importance of having images in the form of vectors is their unique capability of scaling the size up and down without losing any detail, making them an ideal choice for large-format printing.
In this article, we will discuss the meaning of JPG files, and vector images, and finally discuss how to convert an image to a vector using Adobe Illustrator and some free software that can help us achieve this goal.
To convert an image into a vector, drag and drop the image to Adobe Illustrator, locate and choose image trace, release the drop-down menu select sketched art, and finally click on expand to convert the image to a vector.
Let’s dive more into understanding the key elements essential for helping us understand how to convert an image to a vector using Adobe Illustrator.
What is a JPG File?
A JPG (or JPEG) file is one of the most common image file formats that is widely used for digital photos and web graphics. JPG is an acronym that stands for Joint Photographic Experts Group. Jpeg or jpg all mean the same thing and it is a reliable file format when it comes to displaying high-quality images that have a small file size. This is ideal for photographs and online usage as it can show all the details very well. This is because. JPG files are made of pixels.
Key features of JPG files:
- Smaller File Size: JPG files are mostly smaller than uncompressed formats like PNG or PDF. This makes it a great choice for photographers and web designers who mostly post online. It helps to save storage.
- Flexibility and Accessibility: You can open most JPEG files on a variety of devices and accessible

What is a Vector File?
A vector is another type of image that is made up of paths rather than pixels. The development of vector files is done with mathematical formulas that use a grid to ensure precision and accuracy. Vector files are versatile making them ideal for any big printing projects. There are several forms of vectors and they include:
.ai: Ai file stands for Adobe Illustrator. This is the common vector used by designers who use Adobe software for designing logos.
.eps: EPS file means Encapsulated PostScript is an old vector file format available in most design software such as Adobe.
.pdf: The PDF file means Portable Document Format is also used for transferring files easily across various devices. It can be edited by Adobe Acrobat or Adobe Illustrator is only the Preserve Transparency option is checked.
.svg: The SVG file format means scalable vector graphics and it is common on the internet for displaying icons and graphics
Key Features of Vector Graphics
Ability to Scale Up and Up: Vector files are incredibly capable of maintaining their quality when the file is zoomed at its maximum and minimum level. They are ideal for artworks that would be used over and over again like logos and icons.
The file is made from Path and Points: Vectors do not rely on a raster before they can form a shape. They are made from paths that are defined by nodes and lines that join these paths to form a shape.
Editability option: Vectors files such as ai can be edited to suit your preference and style. You can resize a logo that is a vector to any size and format that you want without having any issues.

Now, we can proceed with how to convert an image to a vector using Adobe Illustrator
To convert an image into a vector in Adobe Illustrator, here’s what to do:
-
- Launch Adobe Illustrator and create a new document.
- Locate your file and drag and drop it into Adobe Illustrator
- Select the Image:
- Click on the image to select it.
- Open the Image Trace Panel:
- Go to Window > Image Trace to open the Image Trace panel at the top of the window. The image trace panel is the panel that will make it possible for you to do the conversion from a jpeg to a vector.
- Choose a Sketched Art:
- In the Image Trace panel, you’ll see options like High Fidelity Photo or Black and White Logo (for simple, bold shapes).
- Choose sketched art
- Expand the Trace:
- Once you’re okay with the preview, click Expand.
- This converts your traced image into vector paths.
- Ungroup and Edit as Needed:
- Use Object > Ungroup to separate the paths, allowing you to edit individual parts of the vector image.
- Select the Image:
